Customer Portal
The Customer Portal allows your users to sign in to the Helpdesk and manage their support interactions.
When a contact logs in, they are automatically redirected to the Customer Portal.
Once you’ve invited a contact, they can access the portal to:
- Submit new tickets
- Track the status of existing tickets
- Access the Knowledge Base with relevant search functionality
🔍 The portal provides a self-service experience for your customers, reducing support load and improving user satisfaction.
📝 Submitting New Tickets
To create a new ticket:
- Click on the Tickets page from the sidebar.
- Click the Create button.
- Fill in the Subject and other necessary details.
💡 As you type the subject, relevant articles will appear based on your query.
This helps customers resolve issues on their own before submitting a ticket.
To add more fields in the ticket form on the Customer Portal, check out this guide.
📊 Tracking Ticket Status
On the Tickets list view, users can manage and track the status of their submitted tickets.
Custom Views
- You can create personalized views to filter tickets based on status, priority, or other fields.
- Learn how to create & configure custom views.
Exporting Tickets
- Use the checkboxes beside each ticket to select one or multiple rows.
- Once you selected the roww, a popover appears at the bottom.
- Click the three dots (•••) to:
- Export the selected tickets
- Or export all tickets in the list

📚 Knowledge Base
The Customer Portal includes a built-in Knowledge Base to help users find answers faster.
As users type their questions, relevant articles automatically appear.
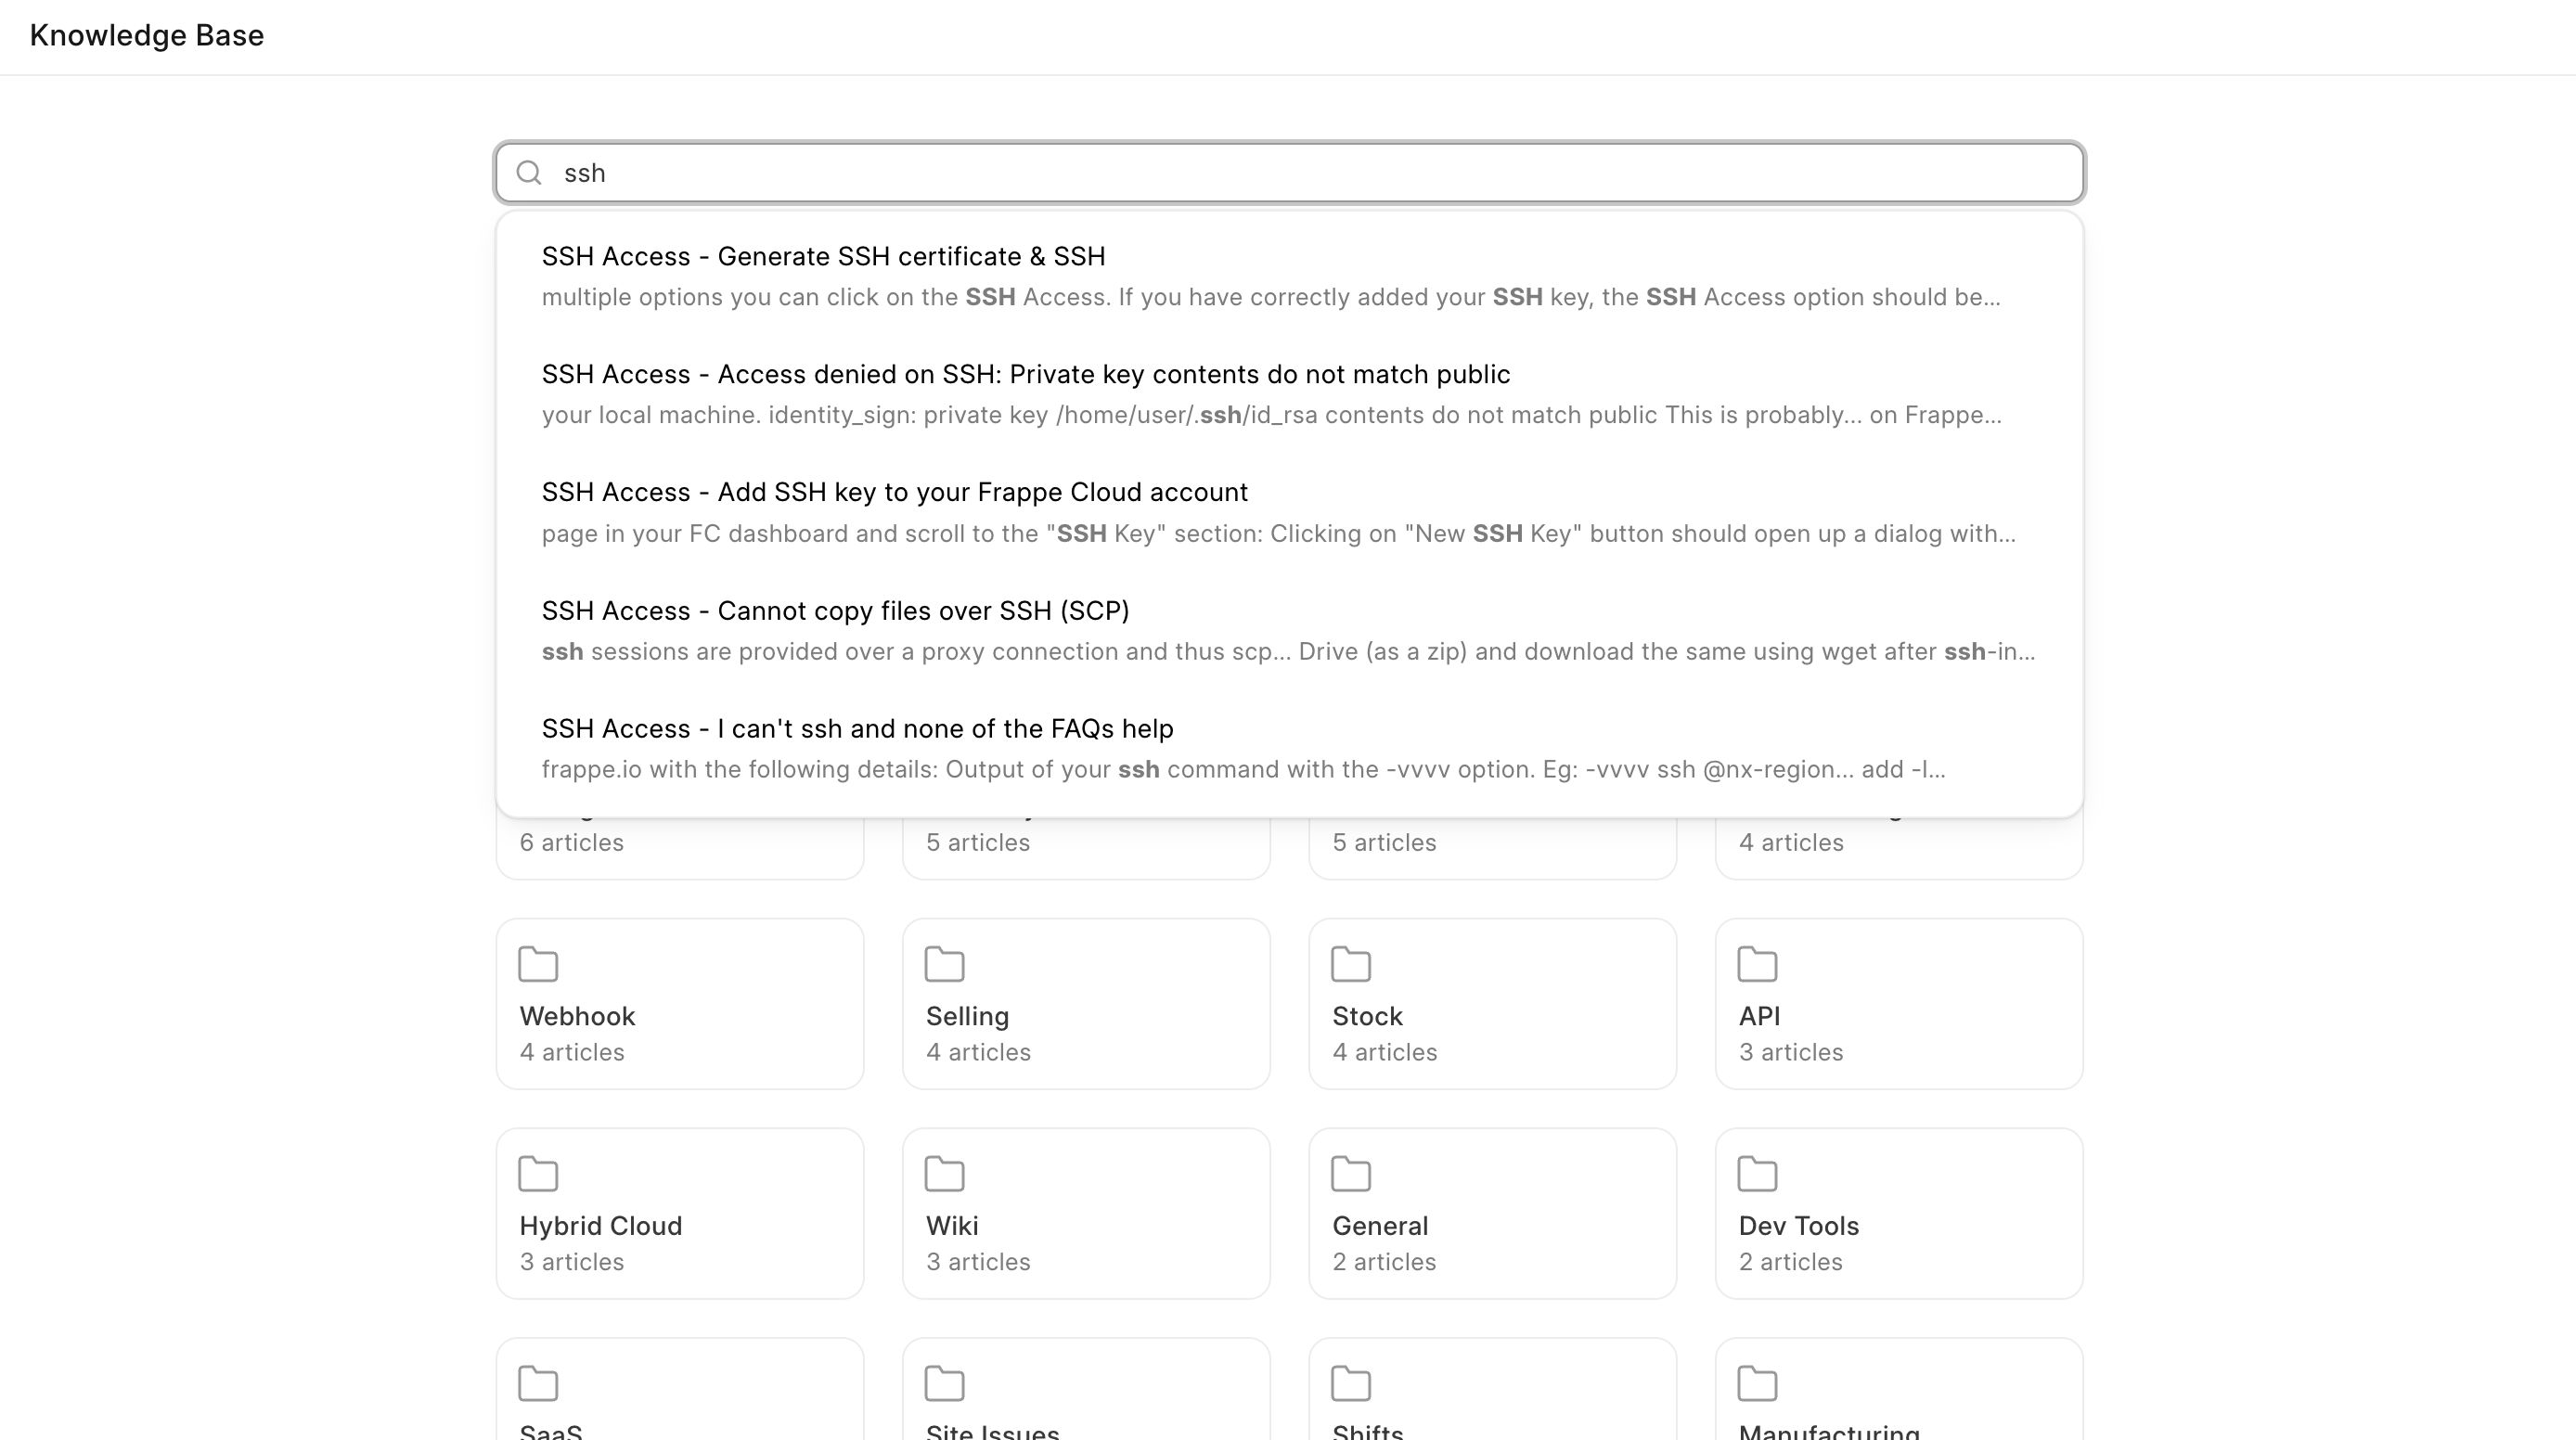
Users can browse through the Knowledge Base to find the information they need without having to raise a ticket.

🧠 A well-maintained Knowledge Base can significantly reduce support load by enabling users to self-serve.
You can setup Knowledge Base as the landing page for your customers/contacts, to do so go to HD Settings => Find "Prefer Knowledge Base" => click & save.
🚀 You’re Ready to Get Started!
You’ve now learned the basics to start using Frappe Helpdesk — from managing customers and contacts to submitting and tracking tickets via the Customer Portal.
To explore more advanced features, visit our full documentation.
We recommend checking out the Customisations section to tailor Frappe Helpdesk according to your specific needs and workflows.
Happy supporting! 💬