Knowledge Base
The Knowledge Base is a powerful tool for agents to create, organize, and reuse helpful articles when responding to tickets. It helps ensure accurate and consistent replies while reducing time spent typing the same responses.
In addition, these articles are shown on the Customer Portal, allowing customers to find answers and solve issues on their own — which can lead to a reduction in ticket volume and faster resolution times. (We will talk about the Customer Portal in the next lesson)
On the sidebar click on "Knowledge Base" or the "book icon" to navigate to Knowledge Base.
Creating a new article
To create a new article:
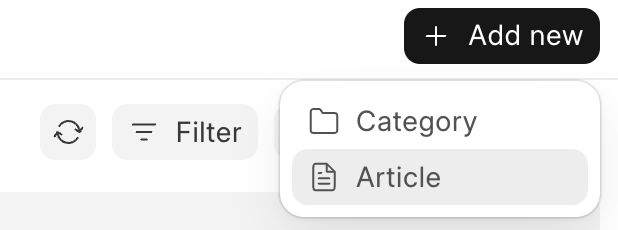
- Click the “+ Add New” button on the top-right corner
- A dropdown will appear with two options:
- Article
- Category
Click “Article” to get started.
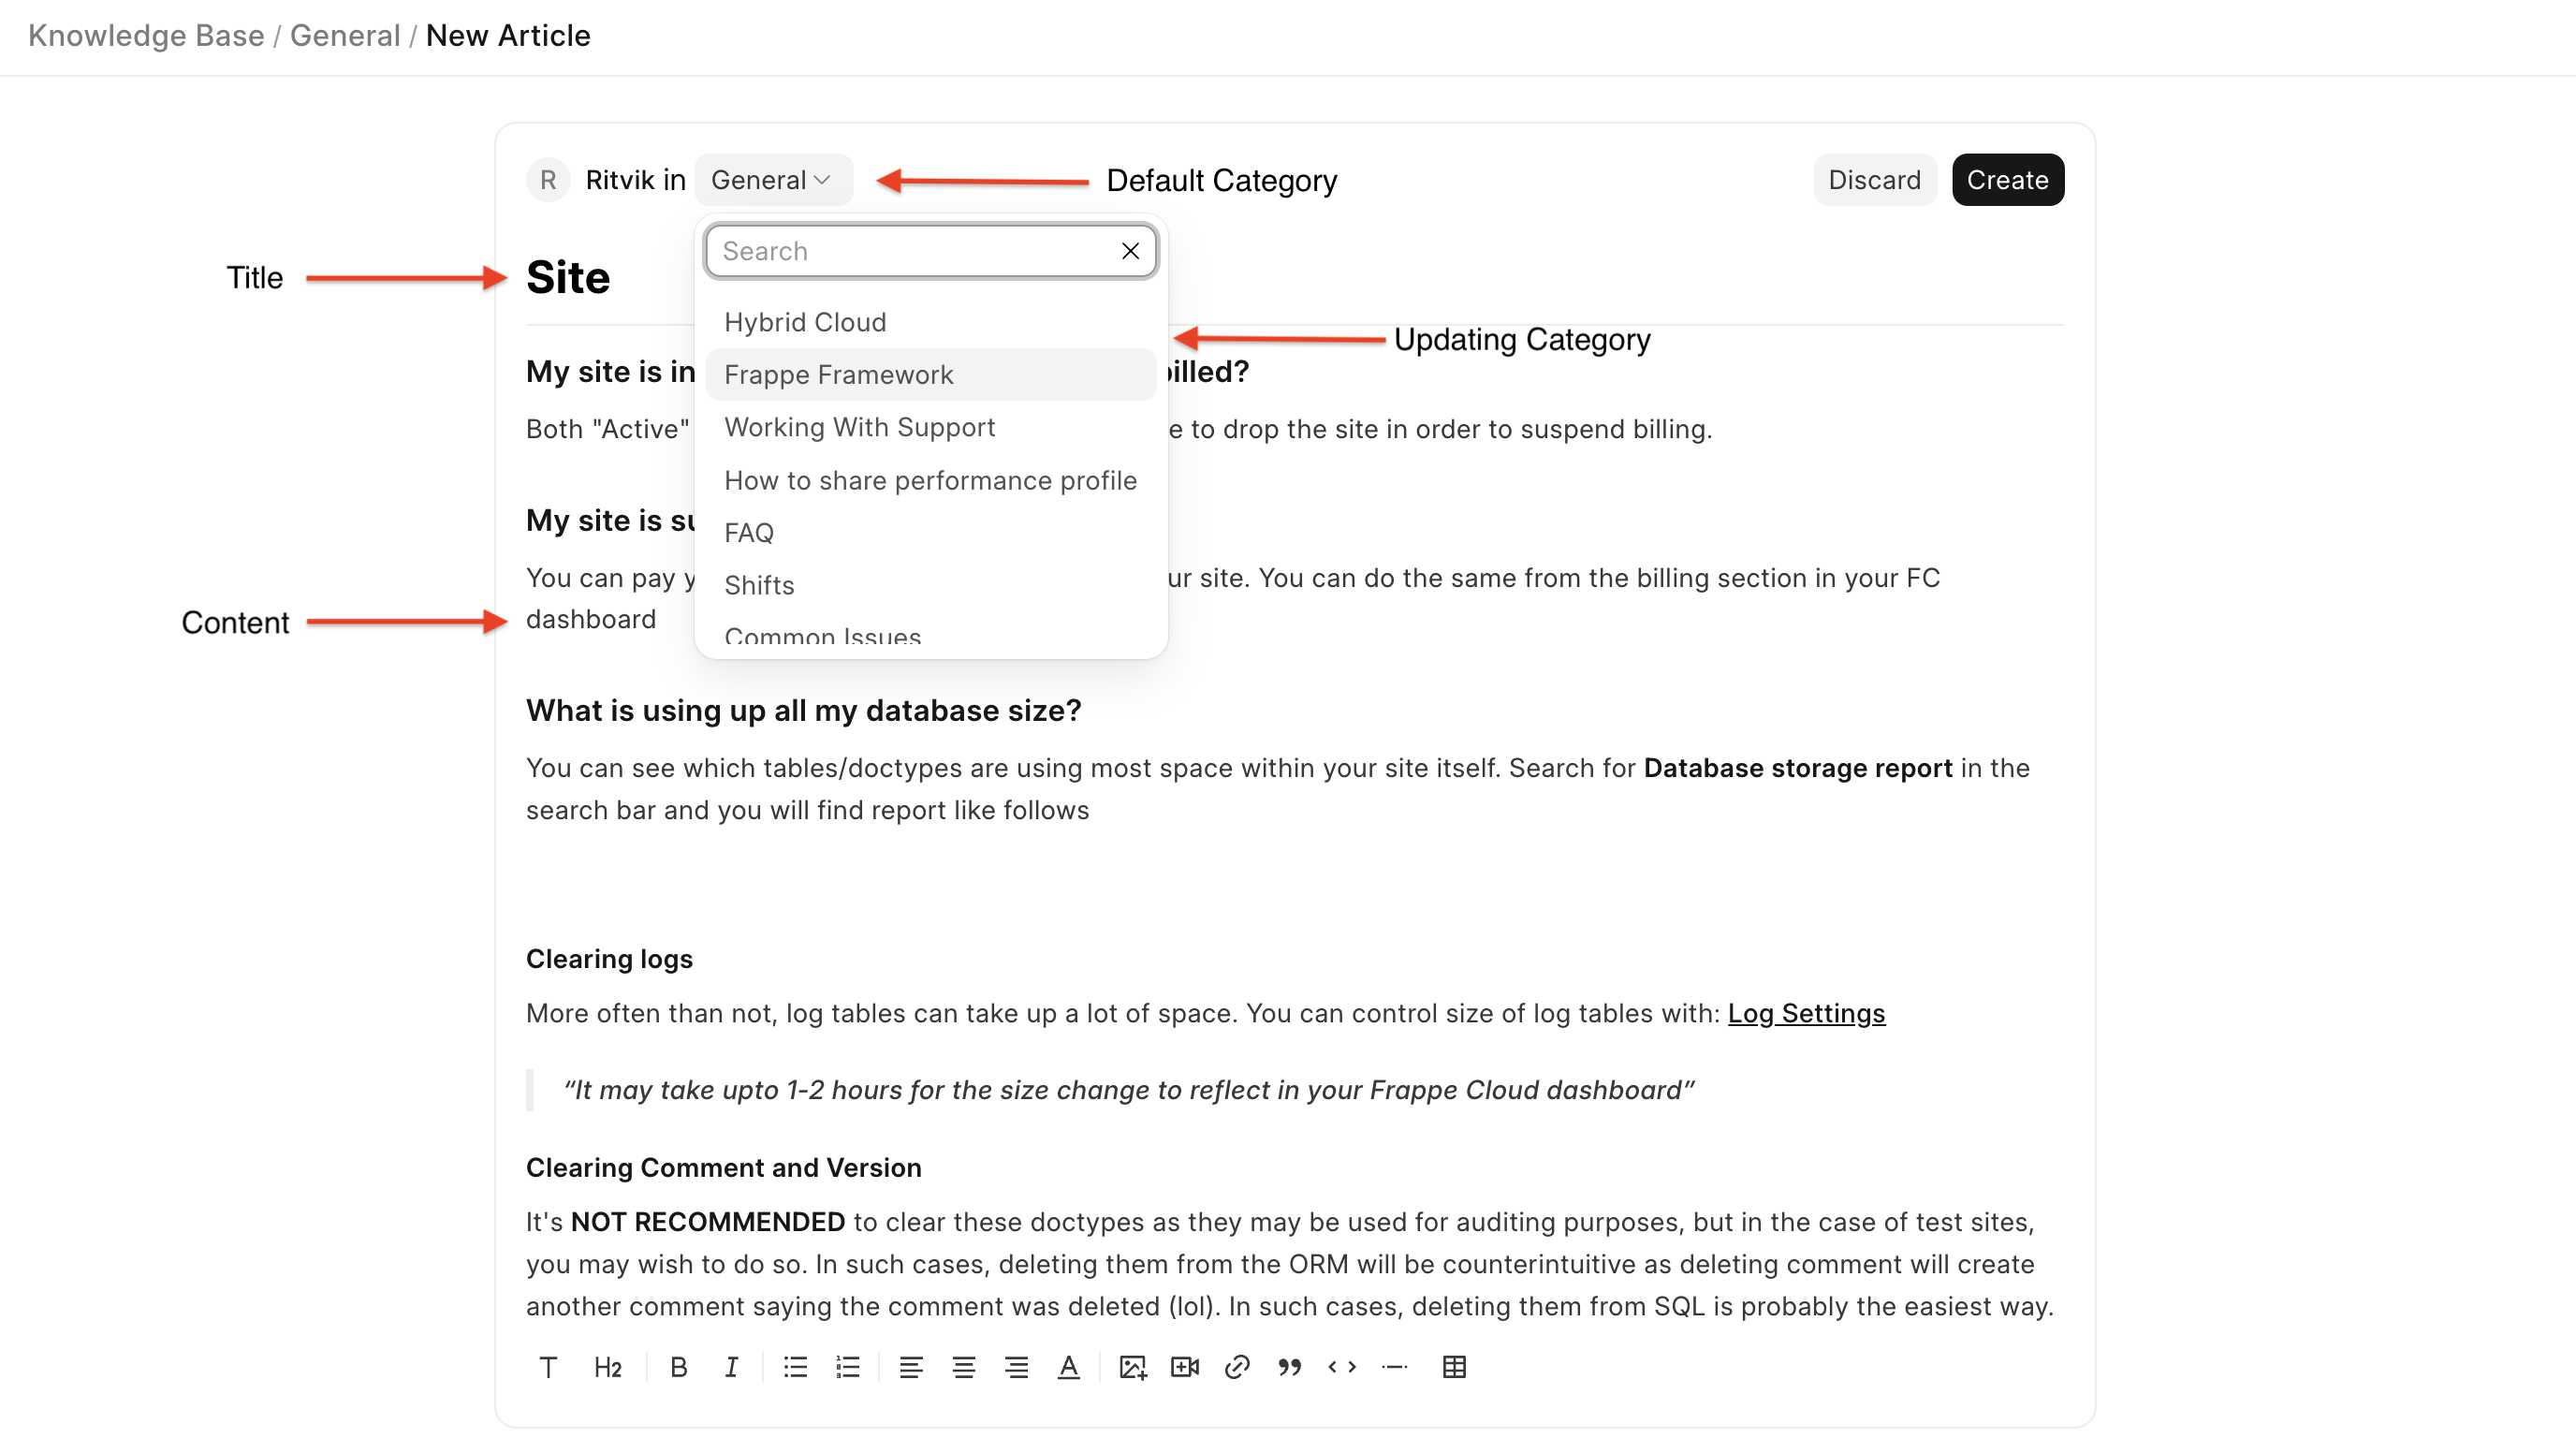
The article will be created under the General category by default. You can change the category later inside the article editor.
Edit the title and add some description of the article and click on "Create"
You have successfully created your first article🎉
Publishing
- New articles are saved in Draft Mode (internal only)
- Click “Publish” to make it Public
- Draft Mode: Visible only to the internal team
- Public Mode: Visible to customers on the Customer Portal
Article Actions:
- Edit – Modify title, content, or category
- Move – Change category of the article.
- Share Link – Copy article URL (for customers, if public)
- Delete – Remove the article
Creating a new category
Creating categories is optional but important as it helps your organisation to maintain the articles and find them easily.
To create a new category:
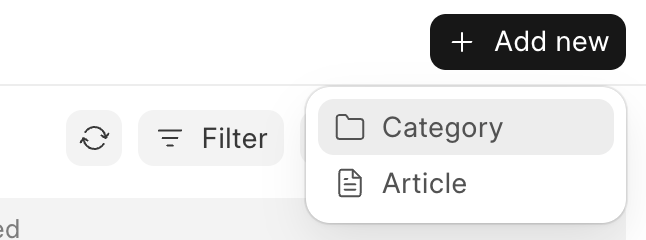
- Click the “+ Add New” button on the top-right corner
- A dropdown will appear with two options:
- Article
- Category
Click on “Category”
When you create a new category, a dialog box popus up, add the category name and click on "Create". When a category is created, an article named "New Article" is also created under the newly created category, you can edit the article and click on "Save".
Here is a small video to understand the flow:
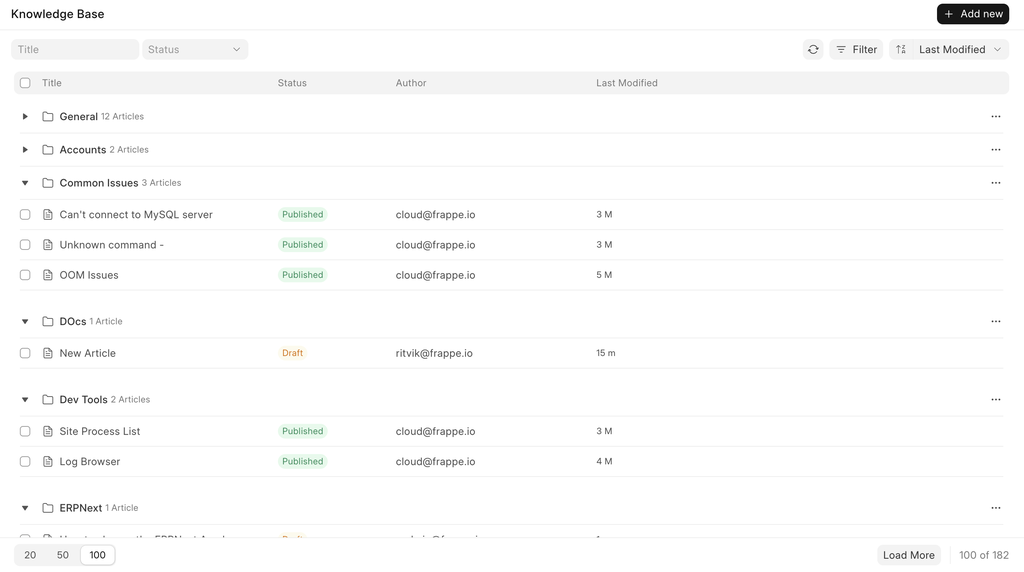
Knowledge Base List View
After creating articles and categories, your Knowledge Base would look something like this In the list view, articles are grouped by categories. You can filter and manage everything from here.
Features in the List View
Each category has "three dots" icon on the right side of it. Clicking on it opens various options:

- Add New Article
- Edit Category Title
- Merge this category into another
- Share category link
- Delete the category
Bulk Actions
- Select multiple articles using checkboxes present on the left side of each row.
- A popover menu appears click on three dots icon, you will see 2 buttons:
- Delete – Removes all selected articles
- Move To – Move selected articles to a different category
⚠️ If a category is deleted, all its articles are automatically moved to the General category.
ℹ️ A category must contain at least one article. To move its only article, delete the category instead.
Now that you've understood how the Knowledge Base works from the agent's side — from creating articles to managing categories — let's move on to explore the Customer Portal and how customers interact with your support system.